Neither one nor Many
Software engineering blog about my projects, geometry, visualization and music.
The following steps are to quickly test how this stuff works.
Using my docker images (master, slave) and helper scripts on github, it's easy to get Cloudera Manager running inside a few docker containers. Steps: get most recent docker, install (GNU) screen, checkout the repo, in there do cd cloudera, bash start_all.sh. This should do it. Note that the image(s) require being able to invoke --privileged and the scripts currently invoke sudo. After running the script you get something like (full example output here).
CONTAINER ID        IMAGE                               COMMAND             CREATED             STATUS              PORTS                    NAMES
31e5ee6b7e65        rayburgemeestre/cloudera-slave:3    "/usr/sbin/init"    20 seconds ago      Up 17 seconds                                node003
f052c52b02bf        rayburgemeestre/cloudera-slave:3    "/usr/sbin/init"    25 seconds ago      Up 23 seconds                                node002
1a50df894f28        rayburgemeestre/cloudera-slave:3    "/usr/sbin/init"    30 seconds ago      Up 29 seconds       0.0.0.0:8888->8888/tcp   node001
54fd3c1cf93b        rayburgemeestre/cloudera-master:3   "/usr/sbin/init"    50 seconds ago      Up 48 seconds       0.0.0.0:7180->7180/tcp   cloudera
Not really in the way docker was designed perhaps, it's running systemd inside, but for simple experimentation this is fine. These images have not been designed to run in production, but perhaps with some more orchestration it's possible ![]() .
.
Step 1: install Cloudera Manager
One caveat because of the way docker controls /etc/resolv.conf, /etc/hostname, /etc/hosts, these guys show up in the output for the mount command.
The Cloudera Manager Wizard does some parsing of this (I guess) and pre-fills some directories with values like:
/etc/hostname/<path dn>
/etc/resolv.conf/<path dn>
/etc/hosts/<path dn>
Just remove the additional two paths, and change one to <path dn> only. There is a few of these configuration parameters that get screwed up. (Checked until <= CDH 5.8)
Step 2: install kerberos packages on the headnode
docker exec -i -t cloudera /bin/bash # go into the docker image for headnode

yum install krb5-server krb5-workstation krb5-libs

# ntp is already working

systemctl enable krb5kdc
systemctl enable kadmin
Configuration files need to be fixed, so starting will not work yet.
Step 3: modify /etc/krb5.conf
Into something like:
[logging]
 default = FILE:/var/log/krb5libs.log
 kdc = FILE:/var/log/krb5kdc.log
 admin_server = FILE:/var/log/kadmind.log

[libdefaults]
 dns_lookup_realm = false
 ticket_lifetime = 24h
 renew_lifetime = 7d
 forwardable = true
 rdns = false
 default_realm = MYNET
 default_ccache_name = KEYRING:persistent:%{uid}

[realms]
 MYNET = {
  kdc = cloudera.mynet
  admin_server = cloudera.mynet
 }

[domain_realm]
 .mynet = MYNET
 mynet = MYNET
In this example cloudera.mynet is just hostname --fqdn of the headnode which will be running kerberos.
(Note that mynet / MYNET could also be something like foo.bar / FOO.BAR.)
Step 4: modify /var/kerberos/krb5kdc/kdc.conf
[kdcdefaults]
 kdc_ports = 88
 kdc_tcp_ports = 88

[realms]
 MYNET = {
  #master_key_type = aes256-cts

  master_key_type = aes256-cts-hmac-sha1-96
  max_life = 24h 10m 0s
  max_renewable_life = 30d 0h 0m 0s

  acl_file = /var/kerberos/krb5kdc/kadm5.acl
  dict_file = /usr/share/dict/words
  admin_keytab = /var/kerberos/krb5kdc/kadm5.keytab
  supported_enctypes = aes256-cts:normal aes128-cts:normal des3-hmac-sha1:normal arcfour-hmac:normal camellia256-cts:normal camellia128-cts:normal des-hmac-sha1:normal des-cbc-md5:normal des-cbc-crc:normal aes256-cts-hmac-sha1-96
 }
I specifically added aes256-cts-hmac-sha1-96 as master key and supported encryption types,
and the max_life plus max_renewable_life properties.
But there is a chance Cloudera Manager might add this stuff as well.
Step 5: modify /var/kerberos/krb5kdc/kadm5.acl
*/admin@MYNET *Step 6: initialize the database
# kdb5_util create -r MYNET -s
Loading random data
Initializing database '/var/kerberos/krb5kdc/principal' for realm 'MYNET',
master key name 'K/M@MYNET'
You will be prompted for the database Master Password.
It is important that you NOT FORGET this password.
Enter KDC database master key: ******
Re-enter KDC database master key to verify: ******
Step 7: add master root/admin user
[root@rb-clouderahadoop2 krb5kdc]# kadmin.local
Authenticating as principal root/admin@MYNET with password.
kadmin.local:  addprinc root/admin
WARNING: no policy specified for root/admin@MYNET; defaulting to no policy
Enter password for principal "root/admin@MYNET": ******
Re-enter password for principal "root/admin@MYNET": ******
Principal "root/admin@MYNET" created.
kadmin.local:  ktadd -k /var/kerberos/krb5kdc/kadm5.keytab kadmin/admin
Entry for principal kadmin/admin with kvno 2, encryption type aes256-cts-hmac-sha1-96 added to keytab WRFILE:/var/kerberos/krb5kdc/kadm5.keytab.
Entry for principal kadmin/admin with kvno 2, encryption type aes128-cts-hmac-sha1-96 added to keytab WRFILE:/var/kerberos/krb5kdc/kadm5.keytab.
Entry for principal kadmin/admin with kvno 2, encryption type des3-cbc-sha1 added to keytab WRFILE:/var/kerberos/krb5kdc/kadm5.keytab.
Entry for principal kadmin/admin with kvno 2, encryption type arcfour-hmac added to keytab WRFILE:/var/kerberos/krb5kdc/kadm5.keytab.
Entry for principal kadmin/admin with kvno 2, encryption type camellia256-cts-cmac added to keytab WRFILE:/var/kerberos/krb5kdc/kadm5.keytab.
Entry for principal kadmin/admin with kvno 2, encryption type camellia128-cts-cmac added to keytab WRFILE:/var/kerberos/krb5kdc/kadm5.keytab.
Entry for principal kadmin/admin with kvno 2, encryption type des-hmac-sha1 added to keytab WRFILE:/var/kerberos/krb5kdc/kadm5.keytab.
Entry for principal kadmin/admin with kvno 2, encryption type des-cbc-md5 added to keytab WRFILE:/var/kerberos/krb5kdc/kadm5.keytab.
kadmin.local:  ktadd -kt /var/kerberos/krb5kdc/kadm5.keytab kadmin/changepw
Entry for principal kadmin/changepw with kvno 2, encryption type aes256-cts-hmac-sha1-96 added to keytab WRFILE:/var/kerberos/krb5kdc/kadm5.keytab.
Entry for principal kadmin/changepw with kvno 2, encryption type aes128-cts-hmac-sha1-96 added to keytab WRFILE:/var/kerberos/krb5kdc/kadm5.keytab.
Entry for principal kadmin/changepw with kvno 2, encryption type des3-cbc-sha1 added to keytab WRFILE:/var/kerberos/krb5kdc/kadm5.keytab.
Entry for principal kadmin/changepw with kvno 2, encryption type arcfour-hmac added to keytab WRFILE:/var/kerberos/krb5kdc/kadm5.keytab.
Entry for principal kadmin/changepw with kvno 2, encryption type camellia256-cts-cmac added to keytab WRFILE:/var/kerberos/krb5kdc/kadm5.keytab.
Entry for principal kadmin/changepw with kvno 2, encryption type camellia128-cts-cmac added to keytab WRFILE:/var/kerberos/krb5kdc/kadm5.keytab.
Entry for principal kadmin/changepw with kvno 2, encryption type des-hmac-sha1 added to keytab WRFILE:/var/kerberos/krb5kdc/kadm5.keytab.
Entry for principal kadmin/changepw with kvno 2, encryption type des-cbc-md5 added to keytab WRFILE:/var/kerberos/krb5kdc/kadm5.keytab.
kadmin.local:  exit
This will be the user we will give Cloudera to take over managing kerberos.
Step 8: start services
systemctl start krb5kdc
systemctl start kadmin
Step 9: do the Enable security wizard in Cloudera Manager
This should be self explanatory, but in summary:
- Enable the four checkboxes on the first page of the wizard.
- Next page, kdc =
hostname --fqdnheadnode, realm = MYNET (in our example). Leave other defaults. - Next page, select Manage
krb5.confthrough Cloudera Manager. Leave all defaults. - Next page, Username
root/adminand password you typed in step 7.
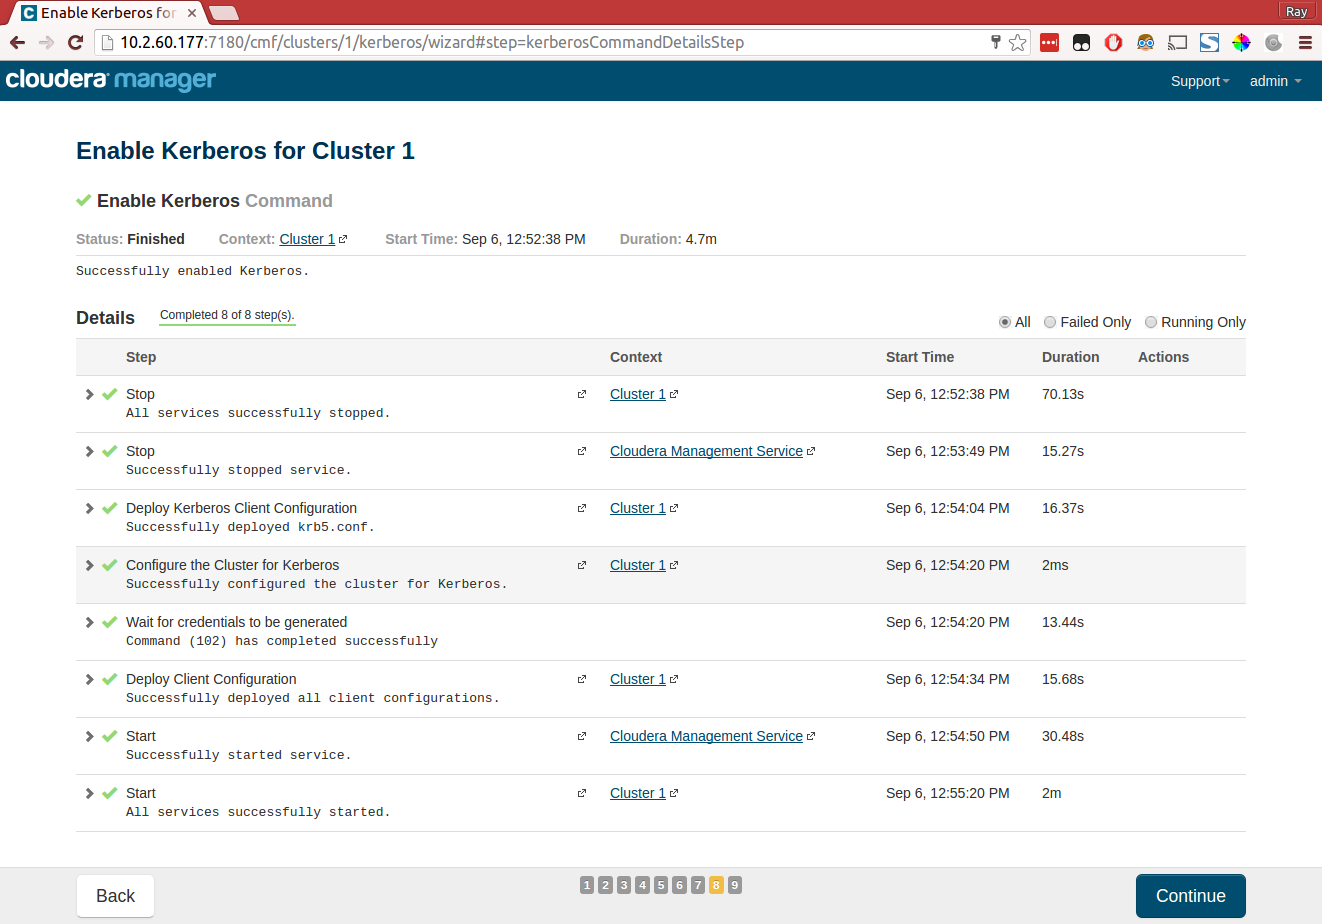
The wizard will do it's magic and hopefully succeed without problems.


Topics:
Other interests:
EBPF Flamegraphs C++ Ubuntu 20.04
Site generated using ![]() ArticleManager © 2010-2013
ArticleManager © 2010-2013

rayburgemeestre
2016-10-28 17:22:31
Some caveats that I ran into twice now:
- for HDFS Configuration make sure `dfs.datanode.du.reserved` is a reasonable value, if you run in small VM's, the reserved space may be larger than the entire harddrive, preving jobs to run.
- following that, do not forget to save the configuration (deploy client configuration IIRC?) and then restart HDFS
- jobs will still not run, because applications fail to write logs because of: /etc/hosts/yarn/container-logs,/etc/resolv.conf/yarn/container-logs,/etc/hostname/yarn/container-logs. These paths are also wrong, and were not displayed during the wizard, fix them in the configuration as well. You can find these three settings in Yarn -> Configurations -> Search for "logs", again deploy client configuration and restart Yarn.